Table of Contents
Every time I open a copy of Deck Specialist I find myself in awe of the amazing designs, concepts, projects and ideas being discussed and represented by top professionals from around the country. The creativity with which these outdoor artists display curves, arches and new products Sets the Standard of Excellence at mind boggling levels.
Now, more than ever before designers and builders are mixing textures and grain patterns, blending different brands and colors while also taking into consideration the surrounding architecture, landscape and hardscapes. We all remember the time when the highest objective for a deck was a basic wooden platform large enough upon which to set our grill and patio table. We evolved from there by creating bigger, better, higher quality wood decks that utilized different species and patterns like cedar, redwood, mahogany, ipe. In today’s world, with the deck becoming more of an extension of the home, decking is being designed to emulate the flooring inside the house. In reality the deck is an outdoor addition and is expected to make a statement.
There are many different ways to make a bold lifestyle statement without breaking the bank. Compound this with the fact that a great deal of new planned communities have many design and color restrictions. Balancing beauty and HOA conformation can be a tough act. One thing to remember is that from outside the deck the most visible aspect of the project is the railing, which is the basis of this edition’s article. Now we could fill volumes on railings, but for this article I’ll stick to just a handful of simple concepts that allow us to create the elegant beauty most of our discerning clients are seeking while keeping life simple for our work crews. After all, time is money and if we start creating designs that take forever to build we limit our clientele and price ourselves out of the projects. The rail systems we are discussing require minimal effort while setting your work apart from the the production style builder or “Bob in his beater” with overly discounted, barely passing code, generic, disappointing work. Our goal as professional deck specialists is to offer our clients as beautiful and unique a project as possible while remaining budget friendly.
Railings can make or break any custom deck project. Manufacturers today have made our lives simple with products that can be quick to learn and easy to install. Knowing many of the contractors in our area it is common knowledge that a typical white vinyl rail can be installed in 10 minutes or less. Think about that. Back in the day it took longer just to cut our old wooden 2×2 pickets. On the market today, there are an abundance of vinyl rail options. Rails come in white, tan, almond, khaki, brown, black and more. Baluster options include matching vinyl in any shade or slightly upscale round, square, flat or curved aluminun. There is also the option of glass panels and vertical or horizontal cable.
We have created our own unique style of rail system blending many of the best features provided by our local manufacturers and suppliers. We then took our designs to all of our local building code officials and had them approved for construction (you may need an engineer stamp but all of our designs and techniques are a blend of ICC Code approved practices).Because low voltage LED lighting has become a highly desired accent to many deck projects, it’s a great idea to prep your railing system for the installation.
The following list outlines a few steps to build a highly efficient and rather beautiful rail system that is actually stronger and better looking than the basic, out-of-the-box rail kit. These ideas will make your projects stand out among the others and give a bold statement that blends form and function without creating any additional work time.
Blocking: If you read the post rail/decking guidelines of most major decking manufacturers for installing a wood 4×4 rail post through composite decking, you are required to block all four sides of every post. However, many municipal codes only require blocking on two sides. Recently, we had the rep from a major decking brand tell us that if you are only building to basic code minimums, many contractors are violating manufacturer warranty.
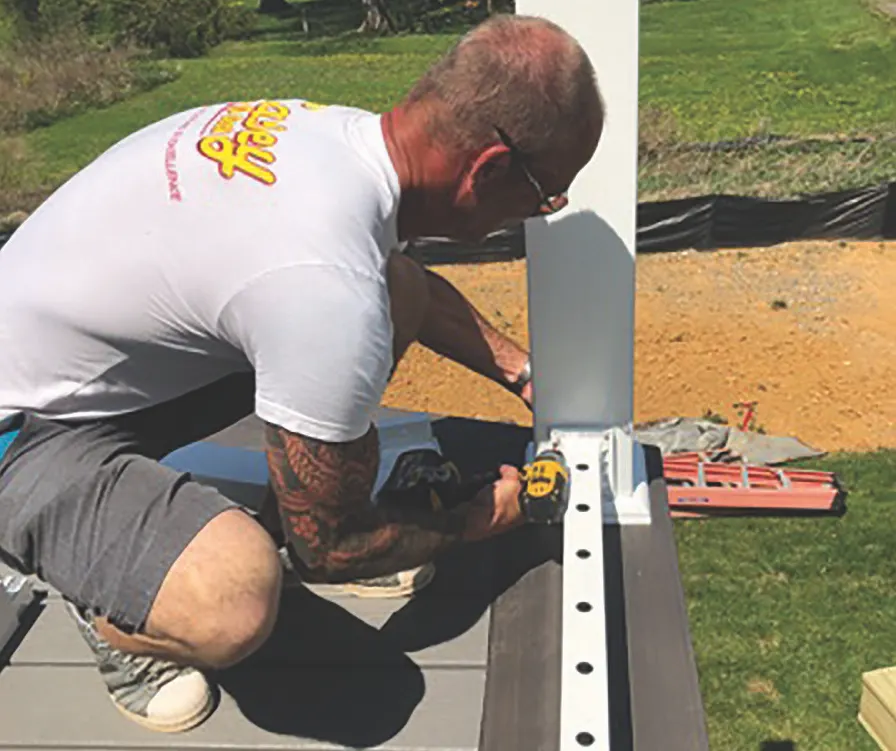
Posts: Instead of using a wood post that requires the installer to cut out the decking, compromising its structural integrity, consider a hollow steel surface mount rail post. Once bolted in correctly it will greatly exceed the strength of the wood post, and since they are hollow you can pre drill and install post lighting wires. This process might take two to three minutes, it’s a no brainer. Steel surface mount posts can be ordered with mounting blocks for either 4×4 or 6×6 rail post sleeves. Some guys will use the 4×4 blocks and pad them out with wood for the larger sleeves, this allows for a little more flexibility of post placement and field adjustments.
Post sleeve: Most of the time we prefer to use white vinyl 6×6 post sleeves. The larger post sleeve is only a few dollars more than the 4×4, and its larger size completely transforms the distictive look of the railing system. While only a few decking and railing material suppliers stock the larger post sleeves with matching caps and base trim a short conversation with a reliable sales rep will surely rectify that situation. By switching to the larger 6×6 post sleeve you also open the door for other great design opportunities like the deck board rail cap.
Rail system: As we all know there are most likely close to a hundred different vinyl rail manufacturer brands around this great country. In our area alone there are more than a dozen readily available. My advice is to pick one brand and make it your go to product.That way your crews will develop familiarity with the product and installation methods. Repetition builds speed. This also allows you to build up an inventory of miscellaneous parts and supplies. We have all been out on a job, an hour from finishing and find we have a broken, damaged or missing part.
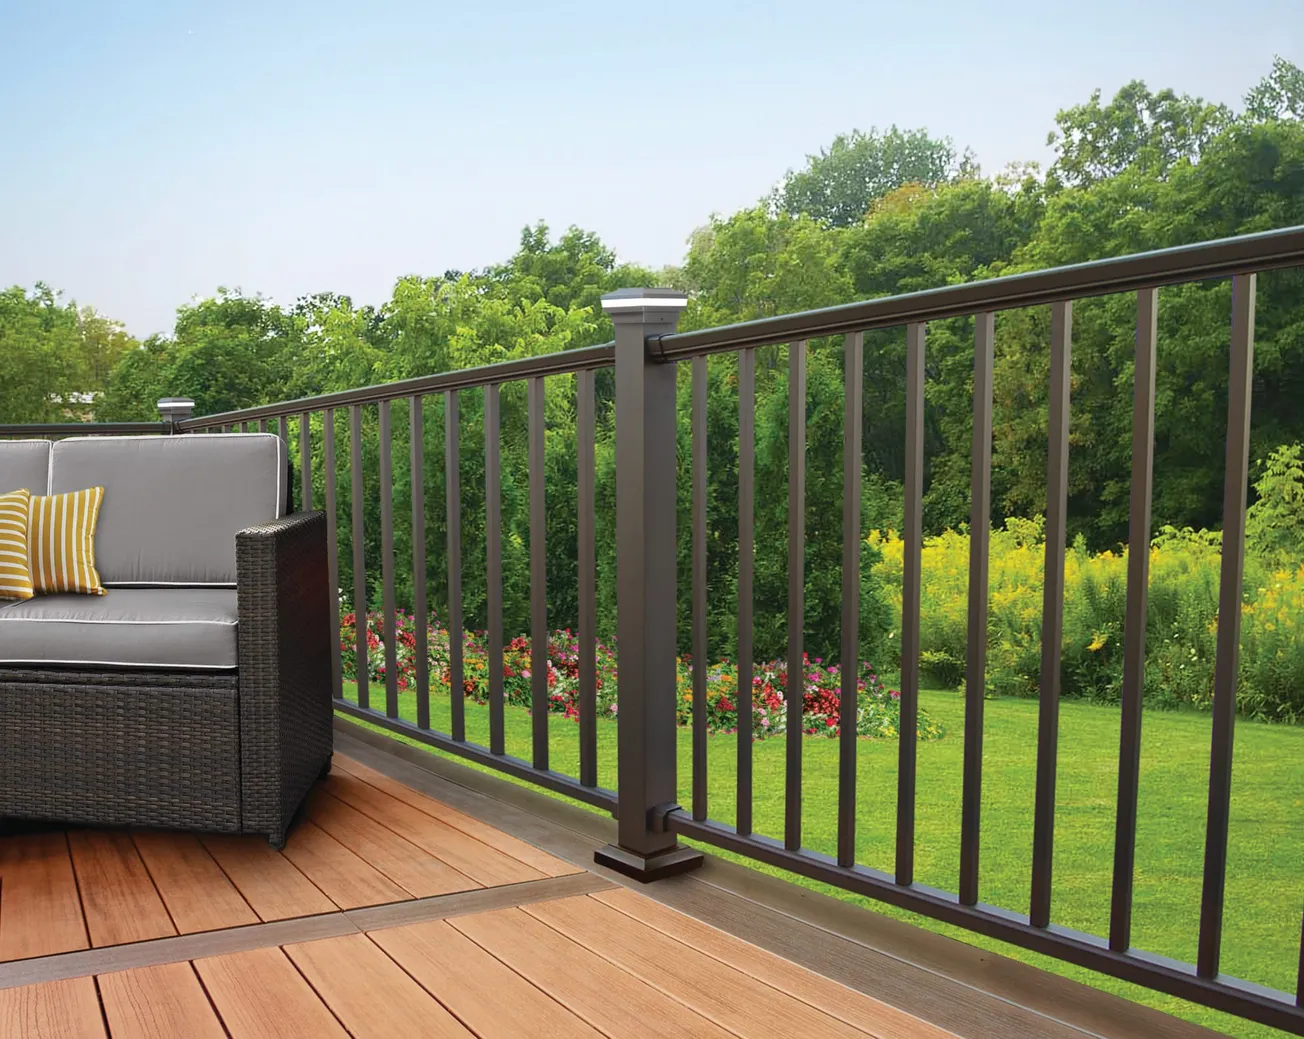
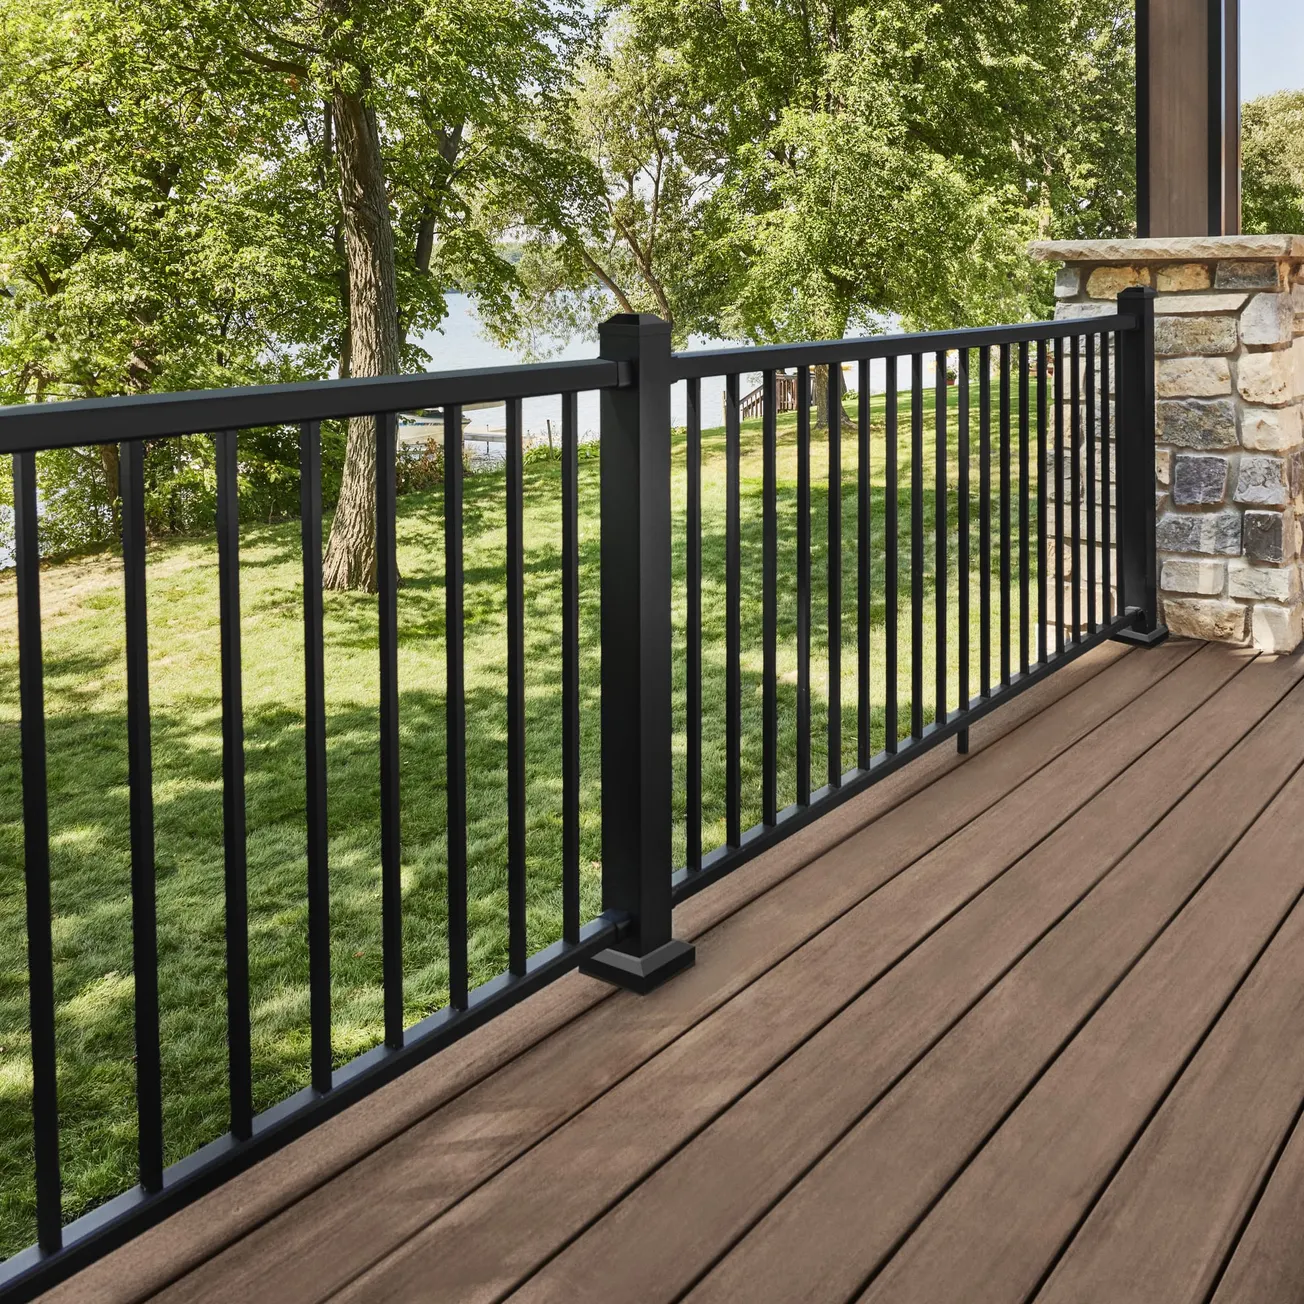
Because my local manufacturer/supplier purchases 10,000 black round balusters at a time, they are only slightly more expensive than the traditional matching square ones. Being able to offer this option for only a few dollars more enables you to craft a more attractive rail system that many of your competitors may be afraid to offer. As a side note, we like to recommend using the optional aluminum reinforcement channel with foam rubber weatherstripping in both the top and bottom rails for additional strength and support. This makes for a noise free, safe and strong finish product that gives your clients a little extra peace of mind.
Rail cap: Most rail manufacturers have an option of a rounded or flat top rail in their vinyl rail systems. Both are great but our preference here is the flat top rail. This allows for the installation of a full width deck board rail cap. Some folks call it a “cocktail rail” or “plate rail;” nonetheless, having a top rail almost 5.5 inches wide is a great idea. Most clients that have had a wood deck in the past have become accustomed to having that top rail, given the option, they jump on it. On smaller decks where space is a a premium and there is little room for a descent sized table this rail or “bar” top really comes in handy.
Many of today’s detail-conscious builders are incorporating picture frame borders on their decks, most of the time it’s an alternative color from the deck. Matching the deck board rail cap to the picture frame border color is an awesome way to enhance the design of the project. Don’t be afraid to step away from the ordinary.
Another simple step that takes minimal time and expands your repertoire of options is using an eye catching larger piece of fascia for the rail cap, providing our clientele with a functional bar top on their deck rail. In addition, this is another great place to add some accent lighting.
Lights: You can’t forget your lights. You’ve gone this far showing what separates you from the rest, add those post sleeve or post cap lights. When you have been the only one adding lights in a new development you can believe that your decks will become the focal point of the neighborhood. Everyone will be asking your clients for the name of their builder and that’s what it’s all about.
Most of you can relate to this because everyday we go out there and give our hearts and souls to the careers about which we are so passionate. Deck building is hard work. But when you transform that blank space and a pile of materials into a new outdoor living masterpiece, we all step back and feel a certain level of pride. When the neighbors are impressed with the uniquely designed rails and lighting they will be lining up to see what you did on the surface of the deck. We call that “rail bait” because you have to get their attention. Having that rail system that jumps out and catches their eye can be just the difference maker for when it comes to getting your phone to ring.
If you try this process, don’t get discouraged if it doesn’t go smooth the first time. Every crew wants to buck the system when it comes to deviating from years of the same install procedures, but once they get it down they will never want to go back to the old, slow antiquated ways. As deck specialists we are continuing to find ways to Set The Standard in Excellence with our pride in craftsmanship and one thing that I have found is there are some truly amazing builders in every community across this great nation. Please feel free to share with us some of your unique and interesting twists and variations on the ideas discussed above.

