
Table of Contents
I have spent over 40 years designing and building decks and outdoor structures. In that time, I have worked alongside some very talented architects and landscape designers. What I noticed is that they approached a project completely differently than most builders do, not because of the tools or materials, but because of what they did before they started. They looked at the site first. They thought about how people would use the space. They asked questions most builders never ask.
From years of watching designers, this is what I learned. The first step is reading a site and planning the layout, including how to help clients understand their project’s budget.
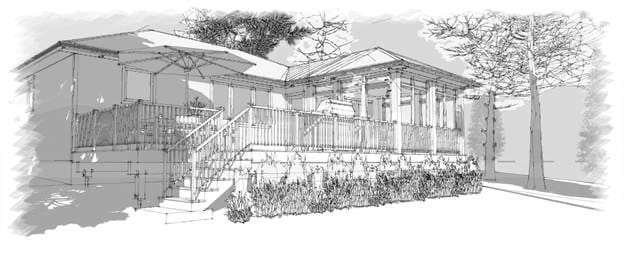
Reading the Site
Most decks are designed backwards. A homeowner describes what they want, a builder measures the back of the house, and a sketch appears. The deck is sized to the budget. The project proceeds. What separates an adequate deck from a truly excellent one? Everything that should have happened before the sketch was drawn.
“SITE ANALYSIS IS NOT PREPARATION FOR DESIGN. IT IS THE FIRST ACT OF DESIGN.”
The Design Process as Architecture Teaches It
Every accredited architecture and landscape architecture program in North America teaches the same sequence before any design work begins. It is called site analysis, site inventory, or program development. It is considered so fundamental that it is taught in the very first semester, before students learn to draw a single floor plan. The reason is simple: a design that ignores its site is not really a design. It is a shape applied to a location.
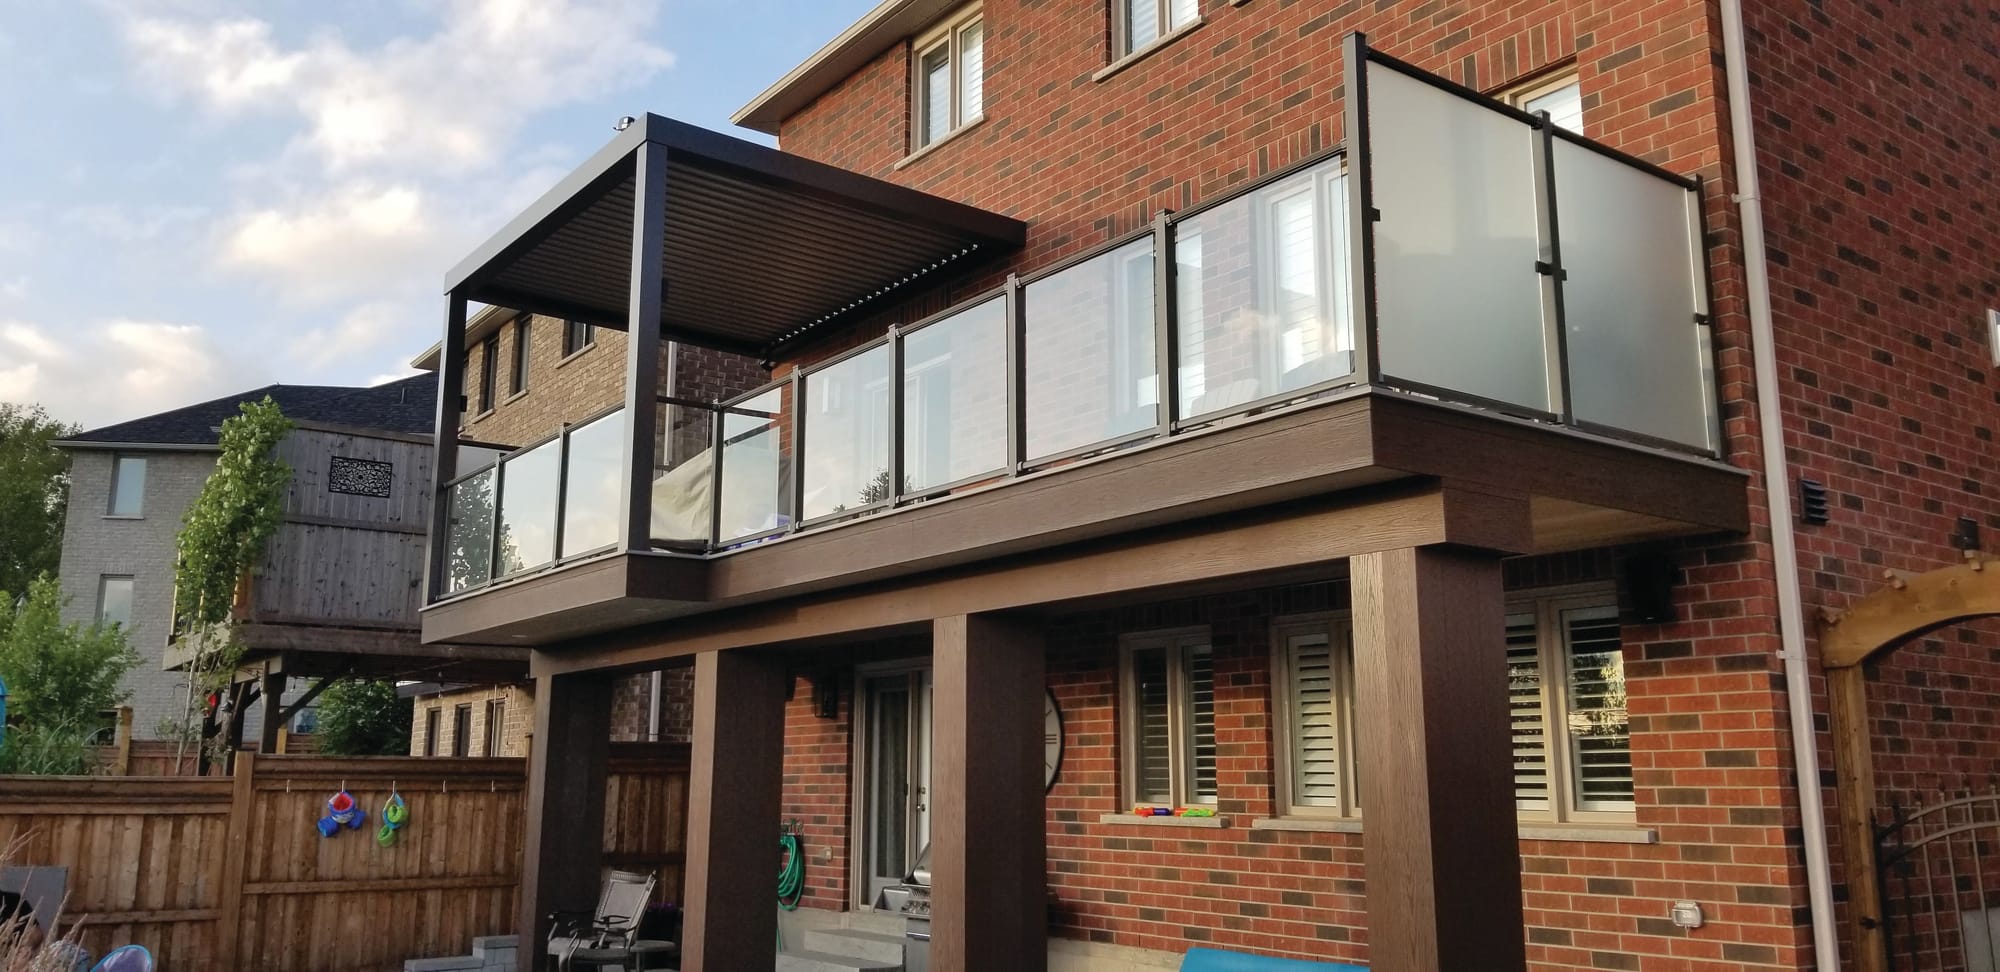
Early on, I learned the concept of genius loci—making designs feel as if they belong to their setting. Frank Lloyd Wright’s work showed how homes, landscapes, and furniture could fit together as a whole, often using local materials to give a sense of unity and sustainability.
Good design blends with its surroundings. Wright’s methods remind us that even groundbreaking designers aren’t perfect. Many of his famous homes featured leaky roofs, so every project is a balance between vision and reality.
For deck builders, this process can be translated into a pre-design consultation that yields better projects, fewer change orders and more satisfied clients. Here is how it works.
Step 1: Site Inventory
The Physical Inventory
Landscape architecture programs begin every design project with a documented site inventory. A record of everything that exists on and around the site before any design decisions are made.
For a deck project, this inventory includes the physical conditions of the property: grade and topography, existing vegetation, drainage patterns, soil conditions, utility locations, and any existing structures. It also includes a careful measurement of all relevant dimensions, not just the house footprint, but the setback to the property line, the distance to neighboring structures, the presence of overhead utilities, and the slope of the grade away from the foundation.
Experienced builders do much of this instinctively. The discipline is in doing it systematically and recording it. For a deck builder, you do not need a formal inventory, but good photography is critical to the design process. Shoot straight on in each direction from where the deck will be, outward from the deck location in each direction, and a few photos from inside the house.
When you are back at your desk designing, those photos are your memory of the site.
The Regulatory Palette
Architecture programs also teach that every site exists within a regulatory context: zoning bylaws, building codes, setback requirements, easements, and covenant restrictions.
For residential decks, this means understanding the local building code requirements for ledger connections, beam spans, post sizes, guardrail heights, and stair geometry before any design is proposed. It also means knowing the permitted development rules: what footprint is allowed, how close to the property line the structure can be placed, and whether a permit is required.
The professional who walks into a client consultation already knowing these rules has an advantage. It lets you steer the conversation toward what is achievable, rather than selling a design that will be cut apart at the permit stage.
Step 2: Environmental Analysis
Solar Orientation
One of the most neglected dimensions of deck design is orientation, specifically the relationship between the deck’s position on the house and the path of the sun.
Consider which direction the deck will face. A south-facing deck in the northern United States and Canada will receive full sun all day. A north-facing deck will be in shade for most of the year. An east-facing deck is pleasant in the morning and usable in the afternoon. A west-facing deck can be brutal in late afternoons in the summer unless shading is designed in.
If a pergola, shade structure, or overhead canopy is appropriate, shift the conversation from “Do you want a pergola?” to “Given your sun exposure, let’s do a pergola with a screen here.”
If they think it may not be in the budget, keep it in the design and offer to do it in stages. You can install the structural supports and just add it when they
are ready.
Microclimate and Wind
Landscape architecture programs address what they call microclimate, the local environmental conditions that differ from the broader regional climate due to site-specific factors. For a residential deck, this means asking practical questions. Where does the wind come from? Is there a prevailing summer breeze that makes the deck comfortable? Is there a northeast exposure that makes it uncomfortable nine months of the year?
Are there existing plantings, fences, or adjacent structures that modify the wind conditions? Maybe the space gets partial sun which makes it comfortable most of the year, but that same deck in Canada may be too cold to use. Maybe a darker color of decking will bring the temperature up a few degrees.
Understanding these conditions shapes structural decisions, material choices, and the placement of elements like built-in seating, outdoor kitchens, and fire features.
Views and Privacy
The landscape design curriculum distinguishes between two types of views: those you want to capture and those you want to hide. Your option is to open a yard to surrounding views or close it off. The same principle applies directly to deck design.
It is a simple concept. If you are on display to the neighbors and they spend time on their deck that looks down on yours, will you feel comfortable? How can we design the deck to add comfort and privacy?
A client with a rear yard that backs onto conservation land has a view asset to be honored, and a design that blocks it with an oversized pergola or inappropriate privacy screening is a design failure. These issues need consideration while designing.
Step 3: Defining What the Space
Must Do
Before the design begins, think through how the space will be used. What activities, how many people, doing what, under what conditions, should it be waterproof or maybe even roofed?
Keep incompatible uses separated, and group related activities together. On a deck, the cooking zone and the dining zone are clearly related. A children’s play area and a fire feature are clearly incompatible. The adult seating area and the outdoor kitchen may or may not work together depending on the client’s preference for smoke, noise, and traffic through their relaxation space. Better yet, place the smoker/grill where the smoke won’t blow across the populated part of the deck. I like to place grills where the chef is facing guests at a bar top when we are doing an outdoor kitchen.
Feng Shui Principle: 2,000-year-old architectural rules. Back then, if you cut yourself preparing food you could die from the injury, so they took great care not to startle the cooks. Placing the grill and prep area facing the guests was just prudent.
Having this conversation deliberately with a client, rather than letting it come out in pieces, moves them from thinking about a deck as a single object to thinking about it as a collection of purposefully designed spaces. That shift produces better projects and happier clients.
ENVIRONMENTAL ANALYSIS: FIELD NOTES
• After 40 years I can look at a photo and guess the direction of exposure. Keeping a compass in your pocket helps, but photography is critical to design.
• I look up the lot on Google Earth. You can learn a lot before you even show up.
• Identify any existing features, trees, structures, roof overhangs, that create shade.
• Ask the client: where does the snow/leaves settle? Is the space breezy in the summer? This info can help you determine wind direction.
• Note seasonal variation. A deciduous tree canopy that blocks summer sun but allows winter solar gain is a real design asset but leaves from walnut trees will stain some decking types.
• Look up the prevailing wind direction and consider creating wind walls.
• Photograph in all directions so that while you design you can see the neighbors in every direction.
• Snow load: not just the structural calculation, but the practical reality of snow sliding off a metal roof directly onto the platform/railing.
The Outdoor Rooms Concept
The concept of outdoor rooms appears in virtually every landscape architecture curriculum, and it is one of the most useful frameworks for deck designers. The idea is to design outdoor spaces as a series of distinct but connected areas, each with its own function and character, rather than one undifferentiated platform.
A deck designed this way has a dining room, the table and chairs are close to the kitchen door. It has a living room, a seating area perhaps around a fire feature. It has a foyer, the transition zone from the house at the door. And it may have a service area, the space adjacent to the grill. Each room has an implied boundary created by changes in decking pattern, level changes, overhead elements, or built-in features. Don’t forget the hallways! As you move from area to area and within the space, you need space to walk. The most common error in design is that it is too small for the furniture.
This is not a luxury addition to high-end projects. It is a way of thinking that applies at every price point. A 400-sq.-ft. deck designed as a single undifferentiated rectangle is a weaker design than a similar-sized deck conceived as three connected spaces with intentional transitions. The square footage is identical. The quality of the design is not.
If you are designing a 250-sq. ft. budget deck, sketch in a patio as a second room. They can add the patio later without tapping into the budget, but it shows that you considered them in the design.
Step 4: Indoor/Outdoor Adjacency
One of the most consistent findings from residential design curricula is the importance of relating outdoor spaces directly to the indoor rooms they serve. The deck attached to the back of a house should have a logical relationship to the interior rooms it connects with. I think of the deck as a natural extension of the home, and the best room in the house!
Consider the view from within the home. We routinely take photos from each window inside the house, and since we render in 3D, we can show clients what they will see from inside after the deck is built. That is a powerful part of the design conversation.
The builder who walks from each interior room to the proposed deck location during the site visit and thinks about those relationships is doing something that the builder who spends 20 minutes sketching a rectangle and calculating square footage is not doing. It demonstrates design ability that clients respond to, and it often reveals simple modifications, moving a door, redesigning the transition landing, adding a second access point, that dramatically improve the project.
Applying the Framework
The professional deck builder arrives to offer insights as a design consultant. Architecture school curriculum goes way further than your typical tradesman needs to. Some of it would be a waste of time on a straightforward deck job.
I was taught that in carpentry, there are usually five ways to do just about everything. All five will work, three are adequate, one might be stronger, but one may be more durable and also look better.
Lawrence Winterburn, founder and principal designer of GardenStructure.com, DesignersDecks.com, and DesignYourReno.com, is based in Southern Ontario. During his 30 years in the industry, he developed his own methods for designing and building decks and outdoor structures. His work has been featured in multiple, well-known publications. Reach him at GardenStructure.com, https://designersdecks.com and https://designyourreno.com. He can also be found on Facebook and Instagram.