Table of Contents
Cable railing offers a visually appealing aesthetic for both commercial and residential spaces. However, for those who are accustomed to traditional balustrade installation, a cable rail system presents unique challenges that can be overcome with a few tips and techniques.
Before installing your cable rail system, it’s important to decide what you want to achieve with the finished product. Are you simply looking to maintain a picturesque view or will you also use it for entertaining? Understanding the utilization of space will help determine the rail style as well as whether you’ll need additional accessories such as LED lighting for nighttime ambiance. In addition, be sure to check with your local building code officials prior to installation to ensure all code and safety requirements are met.
After determining the type of system, you’ll need to choose the right type of cable. Typically marine-grade (type 316) stainless steel cable is the most affordable option that provides maximum durability and corrosion resistance with little-to-no maintenance.
Also look for cable that can be cut to your specifications. Some companies offer pre-cut cables that may be too short or too long for your project. Investing in a pair of cable cutters will give you a clean cut and won’t interfere with the ravel. Other cutters may fray the cable.
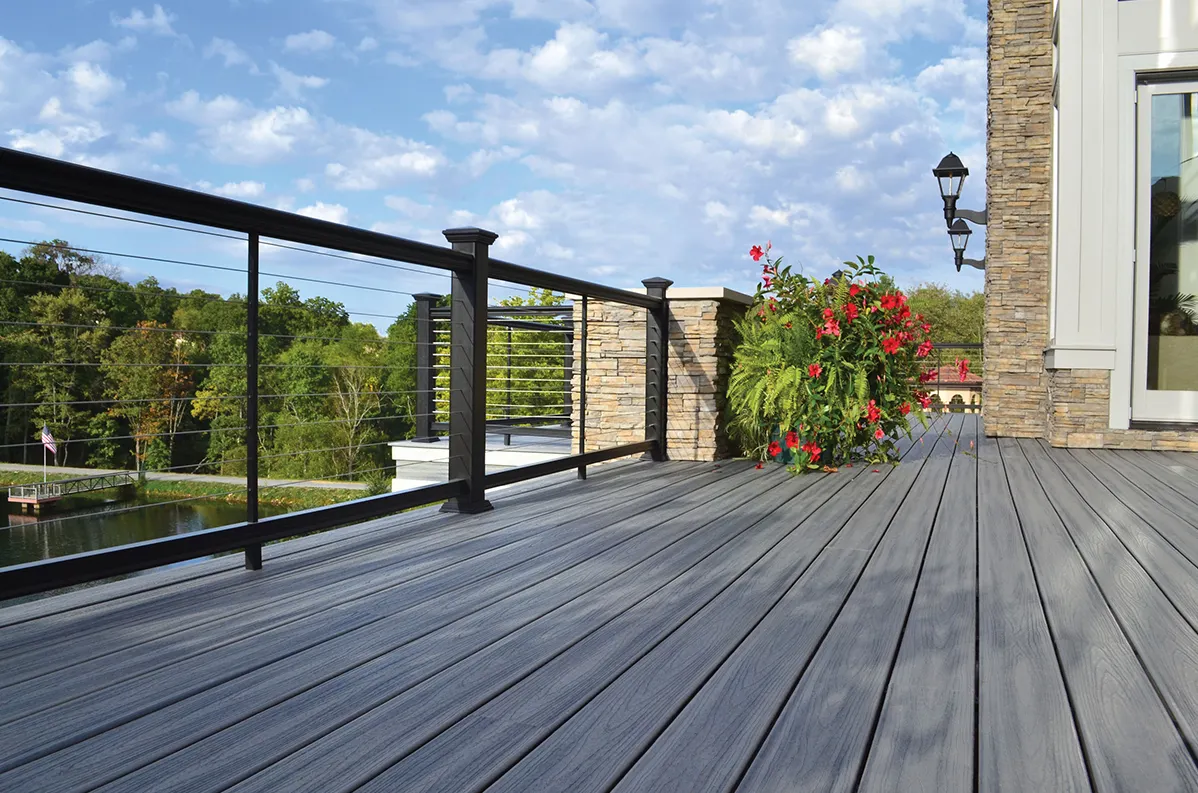
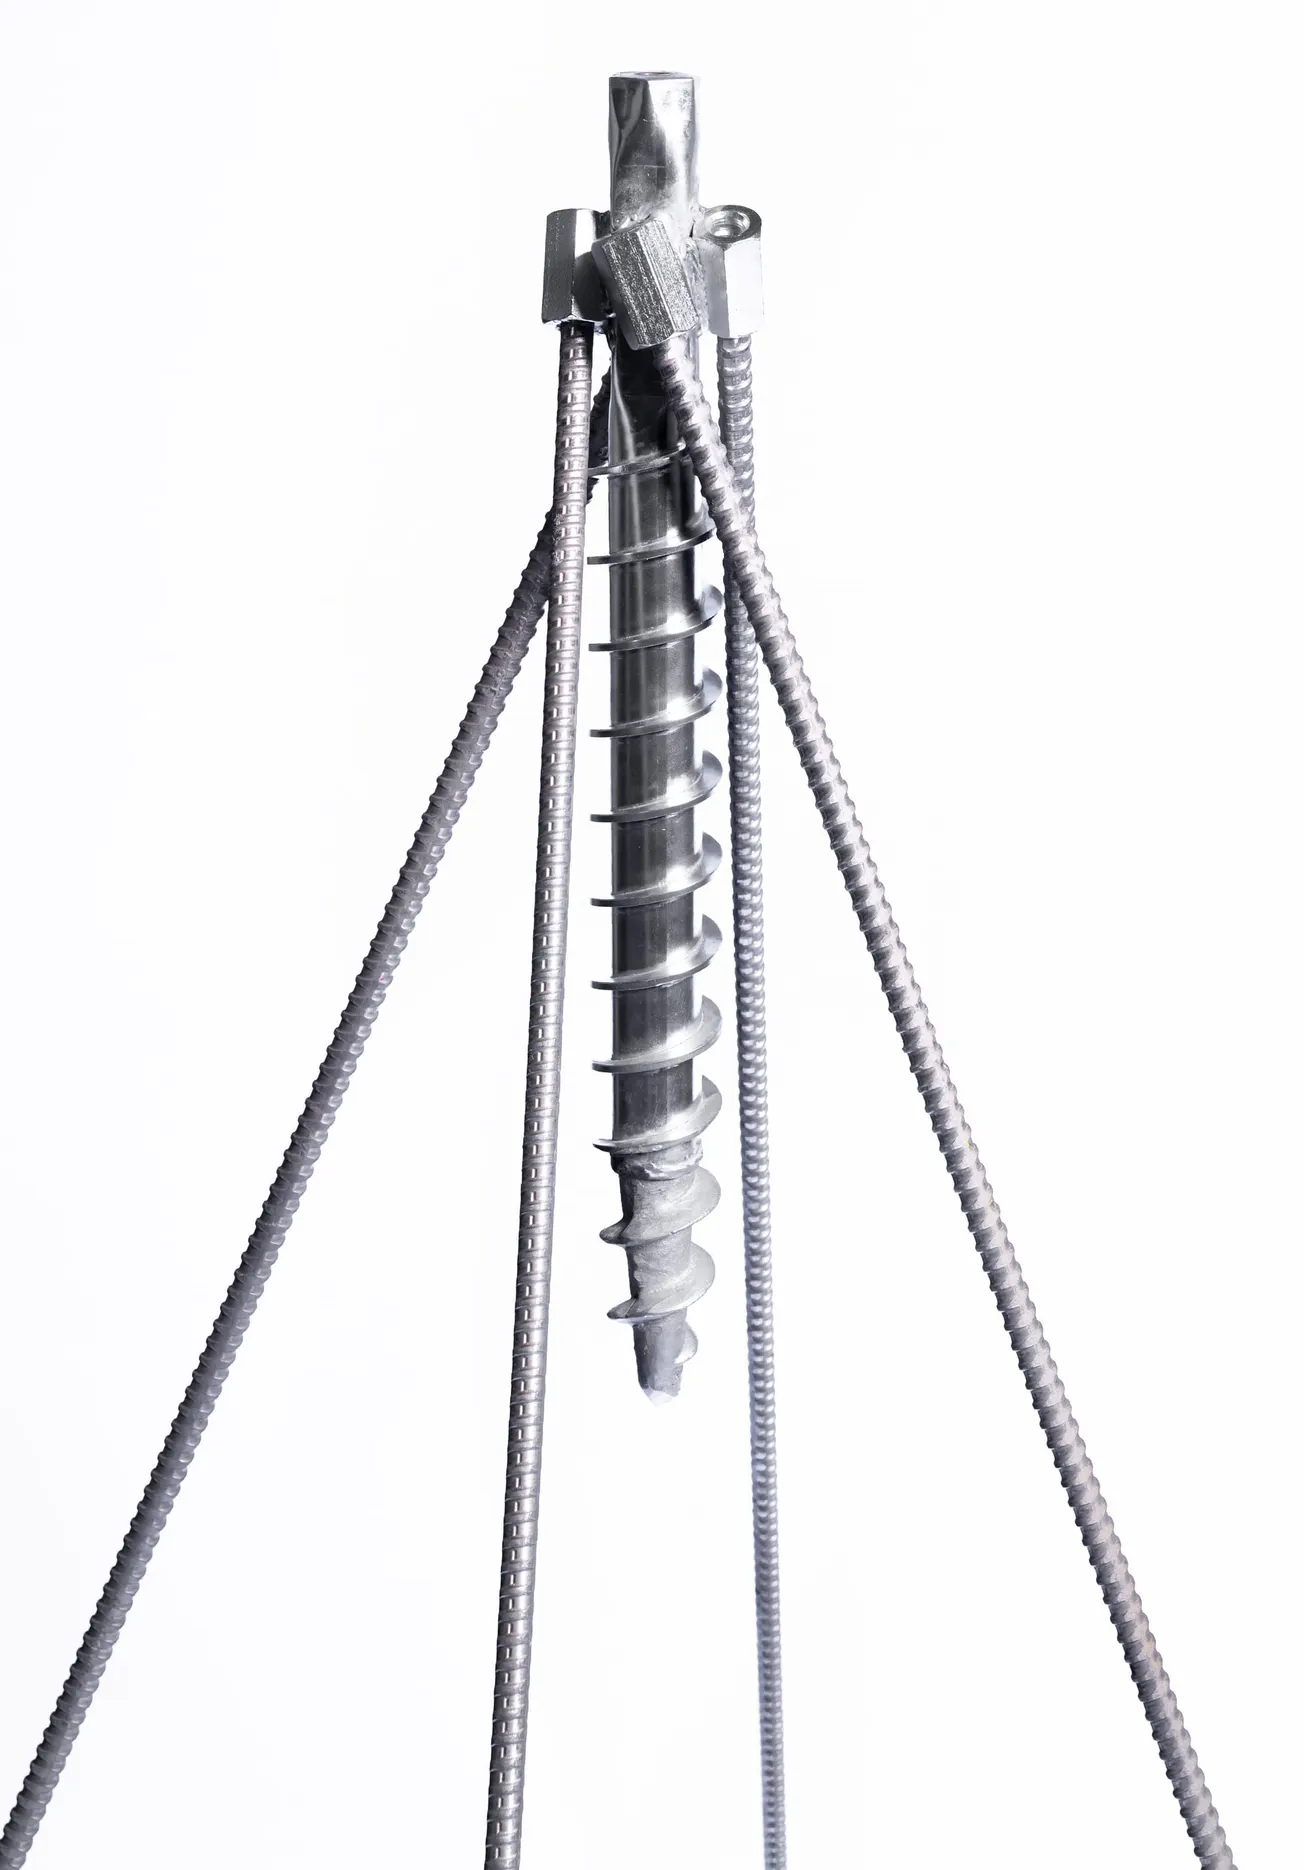
You will be working with three types of posts—end posts, corner posts, and mid-posts. The attachment of the posts to the decking is very important. Well anchored posts are necessary to prevent them from bending under the cable tension. The use of a top and bottom rail will also keep the posts from bending.
Prior to tensioning, all top and bottom rails must be in place and secured to the posts per the manufacturer’s instructions. The tools and equipment you will need to add cable rail will vary depending on the railing manufacturer. Some companies offer pre-drilled posts that are ready to receive the fittings.
It’s always best to terminate the cable at a corner post or any post where a change of direction takes place. Look for a cable rail system that offers both structural pass through posts as well as predrilled corner posts to avoid the need for a two-post corner.
It’s highly recommended to install a bottom rail to ensure the cable rail is not used as a foot rest. Any additional weight or pressure will cause the cable to lose its tension.
To prevent the cable from sagging, tighten it to 400 psi while utilizing an intermediate baluster every 42 to 48 inches in addition to posts every 6 to 8 feet. There is a numeric order to cable tensioning. It normally takes two times before the cable finds its “happy place.” You shouldn’t have to tension it again unless someone is repetitively putting pressure on it.
While cable rail has been around for quite some time, the technology behind it has greatly improved in recent years, making installation both faster and easier.

